Keyboard Build Log
Imitation is the sincerest form of flattery - Charles Caleb Colton Inspired by the Ergodox and Oobly
The Beginnings
Initial key layout plan was born one night, during some discussion about discomfort while typing amongst some friends. A few days later, a secondary spark of inspiration hit, and this was born:
 And yes, it’s a coffee can cut into pieces, with the keycaps arranged using blue poster-tack. Now, this is well and fine, but I can’t seem to find the plugin anywhere, and it’s certainly not connecting to bluetooth. So I fear I must go further.
This is my donor board, a Poker II that will be sacrificed for switches, and the metal will be repurposed to suit my needs.

Stay tuned for updates!
Carving My Place In The World
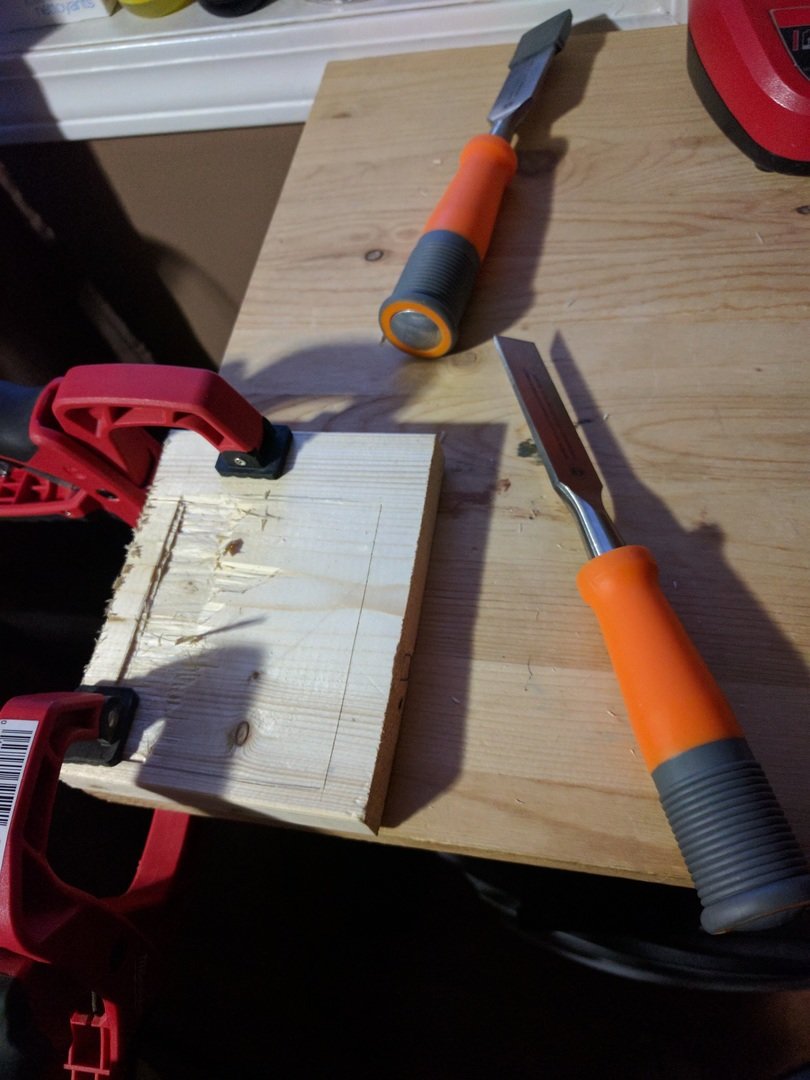
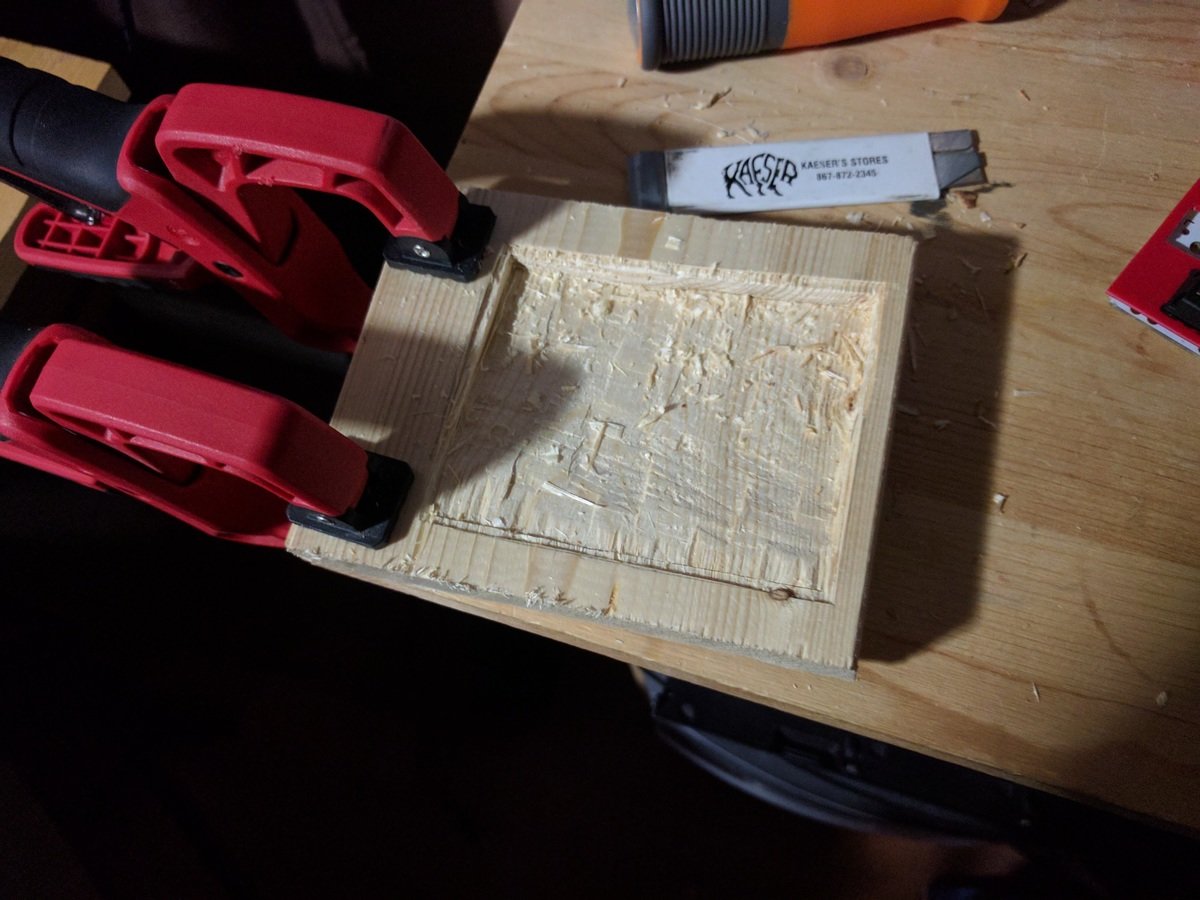
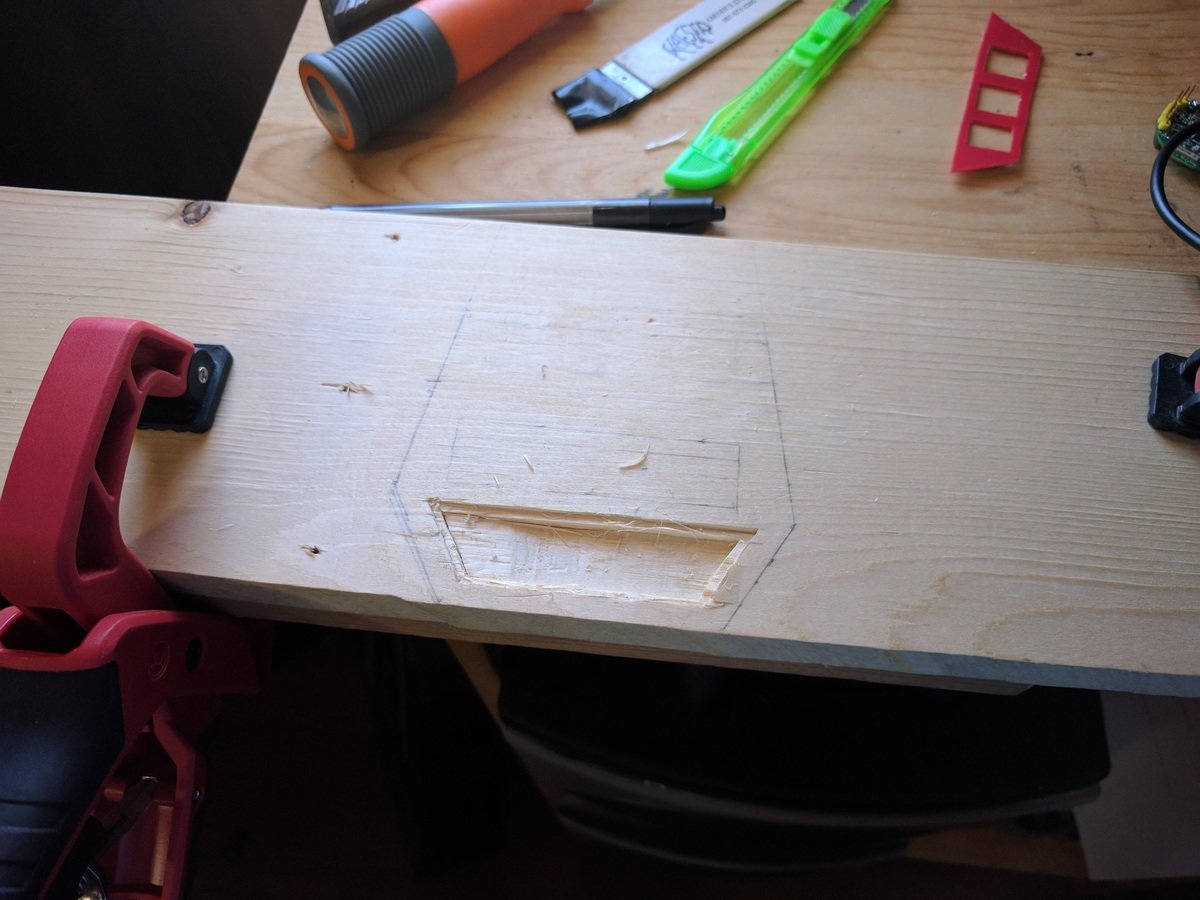
I found a piece of curved wood at work that I’m going to attempt to use as a housing, for the initial version of this. (Future versions, some time in the future will end up as milled aluminum)

My next step is desoldering my old keyboard, then start shaping the cases.
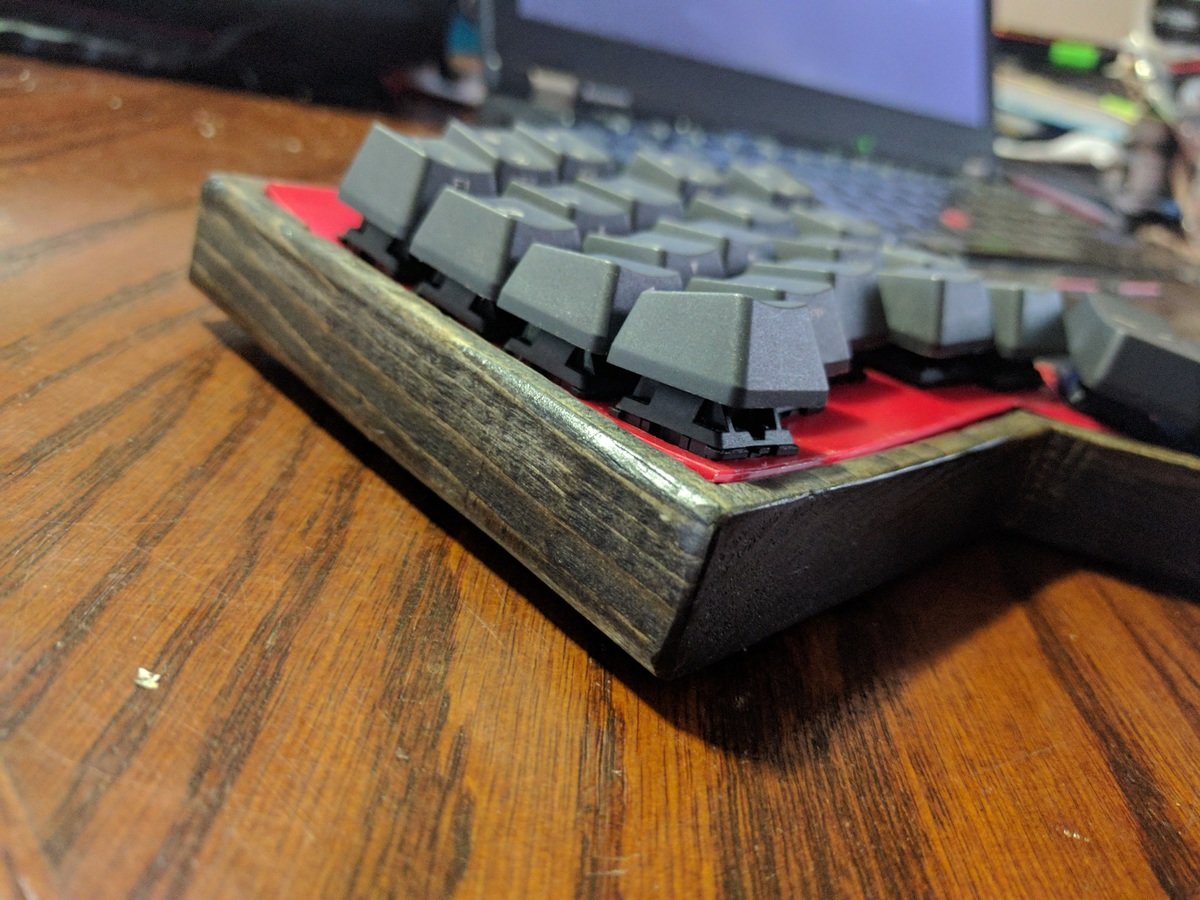
Desoldering was held back for lack of a solder pump, so I’ve been working a bit on shaping out the cases. I did a test-fit of my keycaps into the wood - looks pretty good!


Well, This Is Interesting.
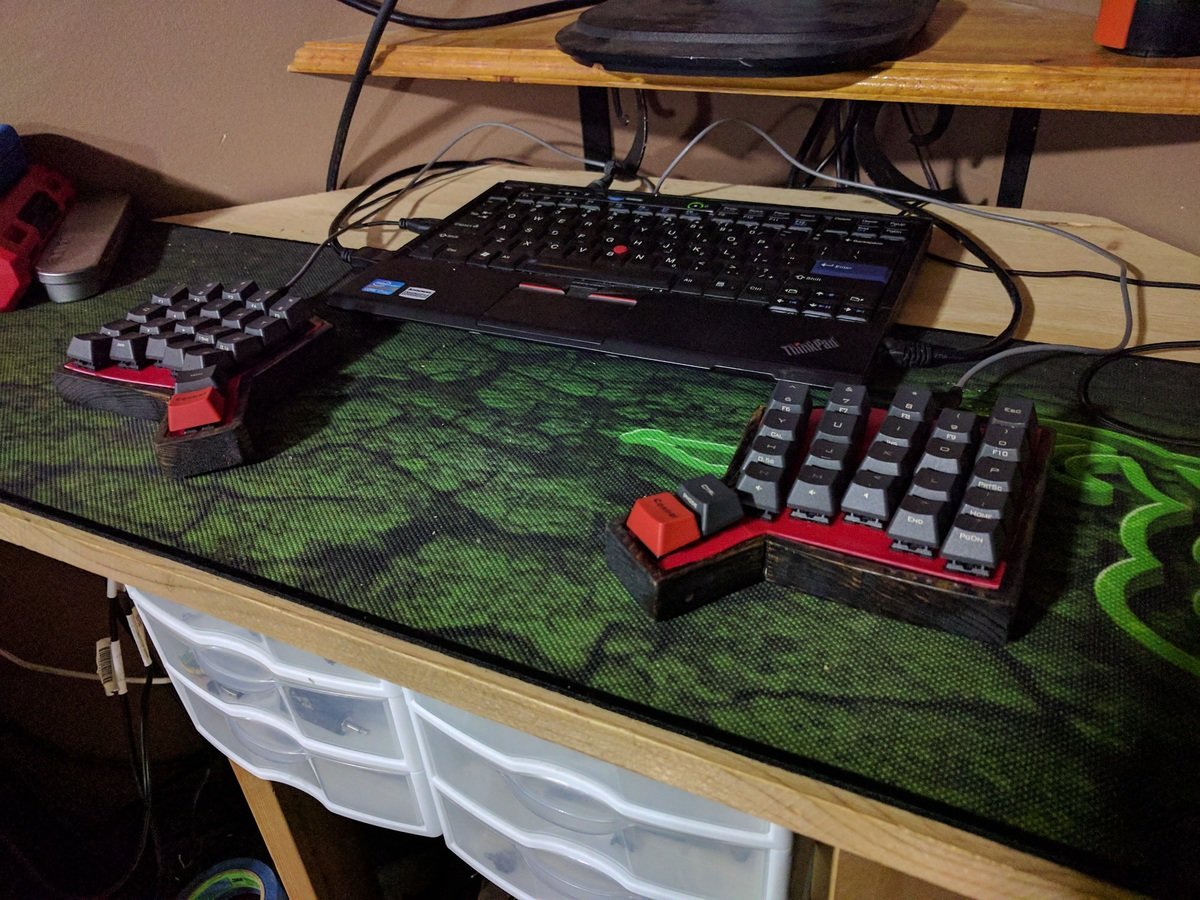
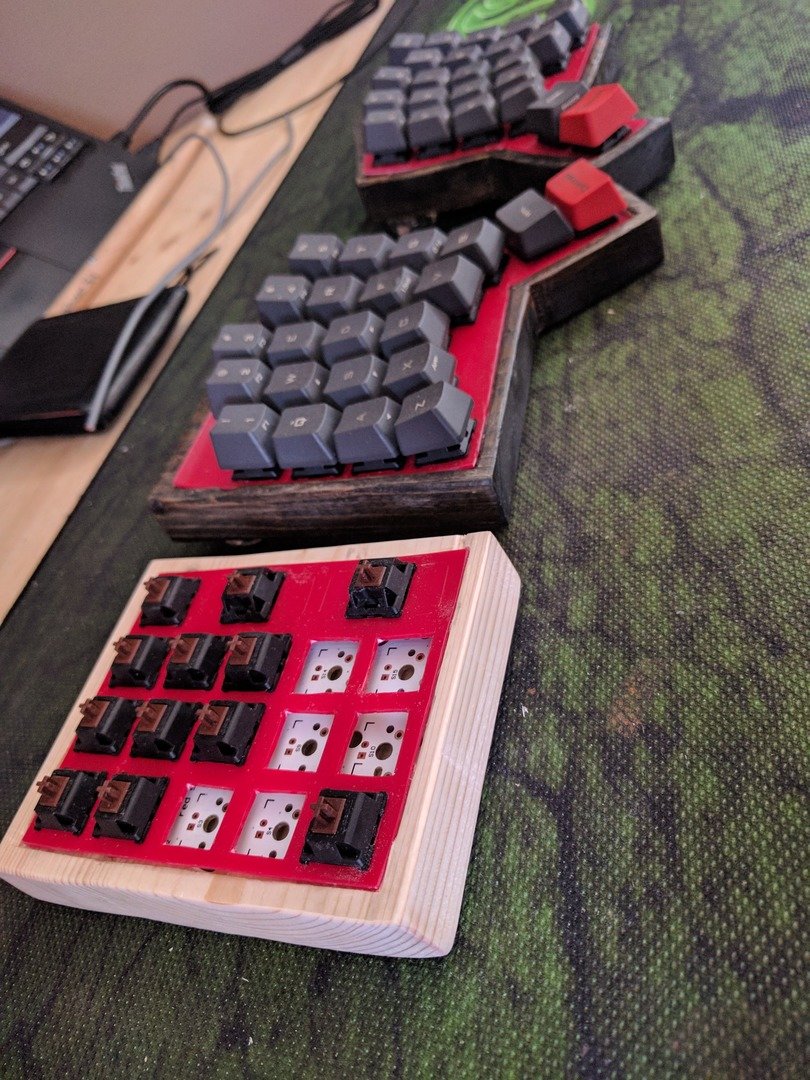
We have a little bit of an update! I completed the left half… ok maybe not. I couldn’t wait to see it together, still waiting on the electronics.

Update: Thu Jun 1
Hopefully I see my Teensy, diodes, and I/O expander in the coming few days.
A Small Numpad Maybe?
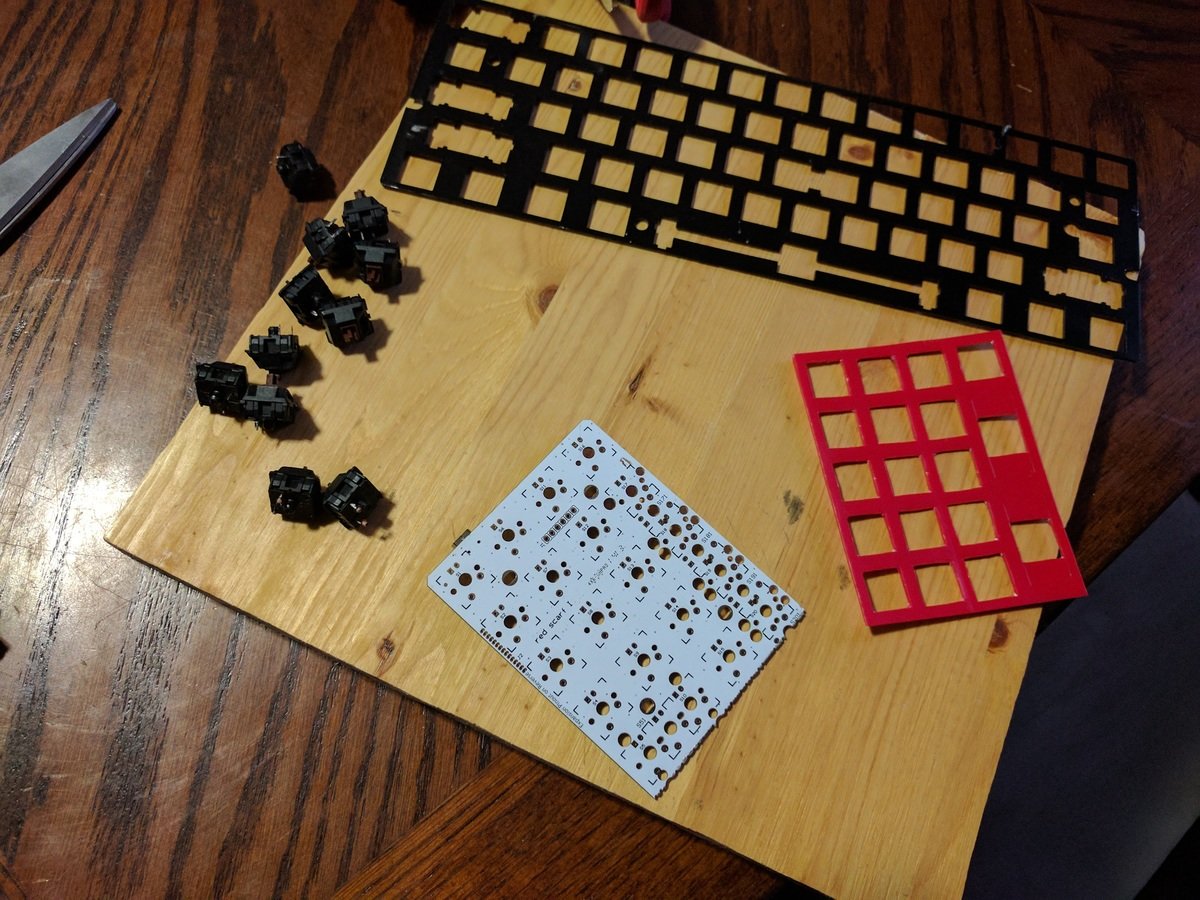

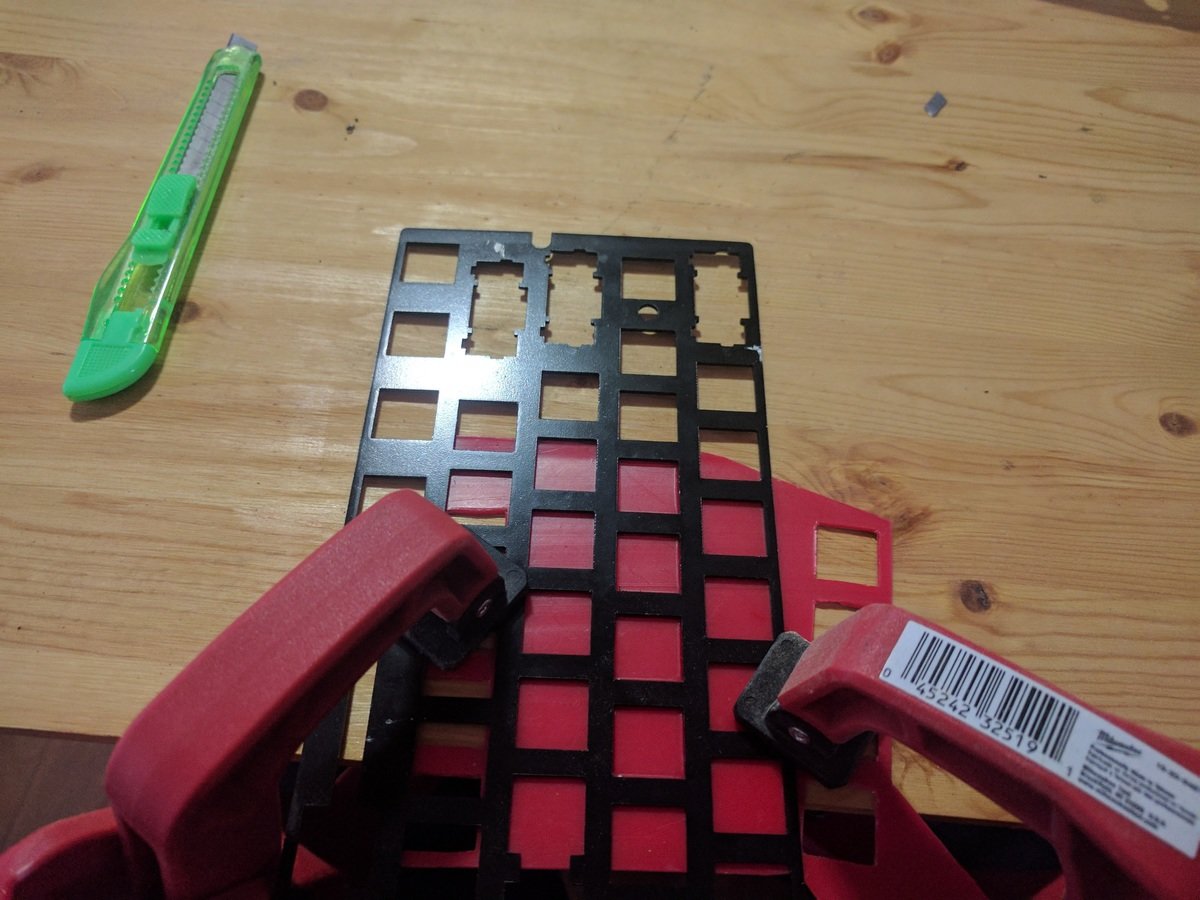
This will go on the left hand side of the split keyboard, for numeric input. I have been hanging on to this GH10 PCB for over a year. It’s finally time to use it!
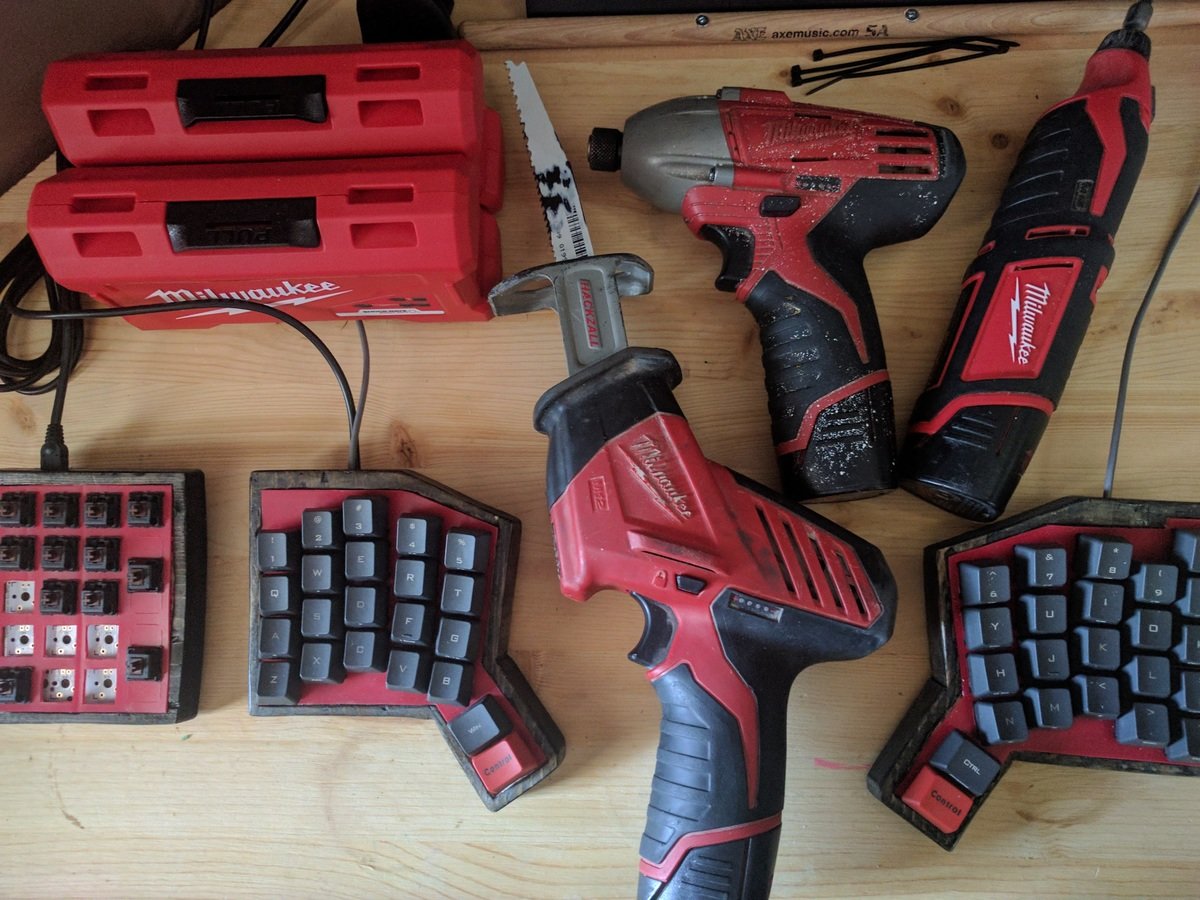
I realised this was shockingly similar to the tools I used to build the keyboardin color.
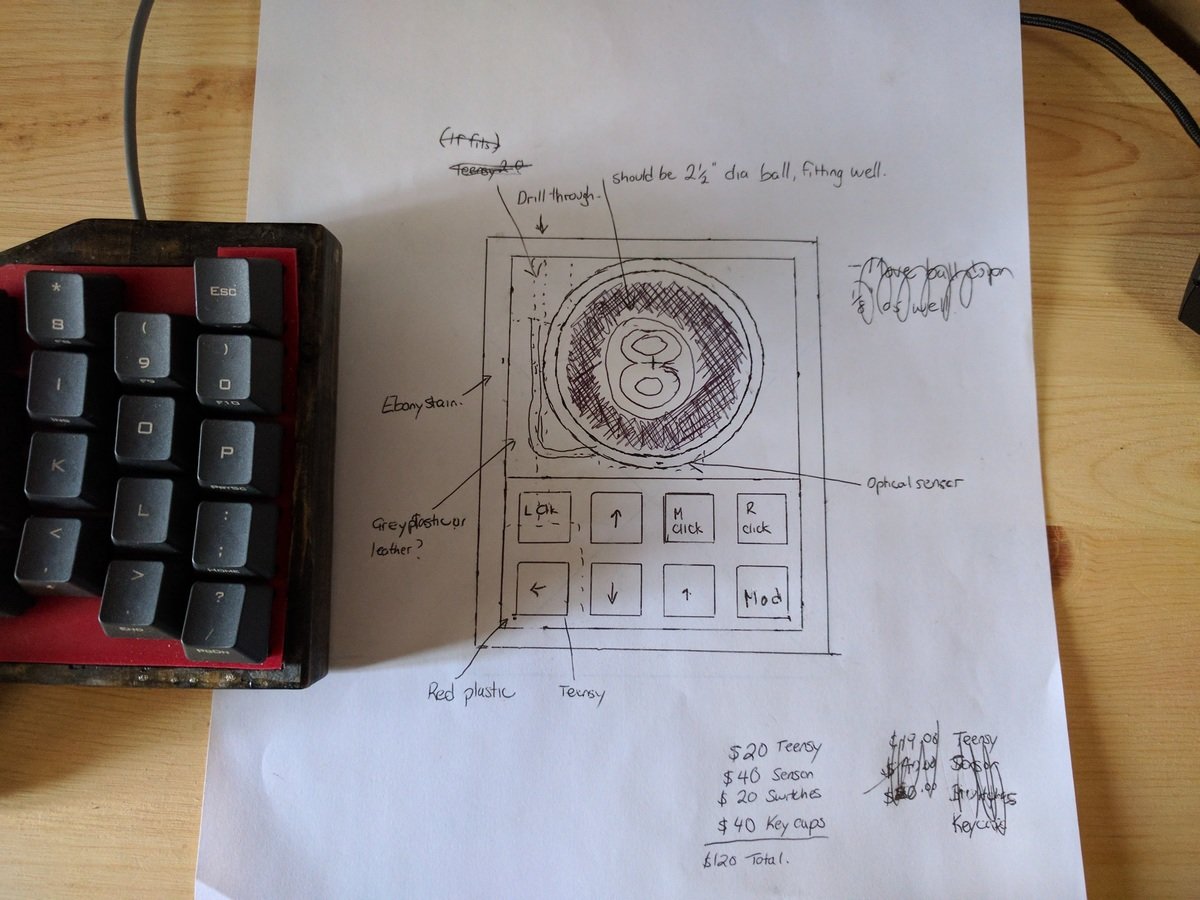
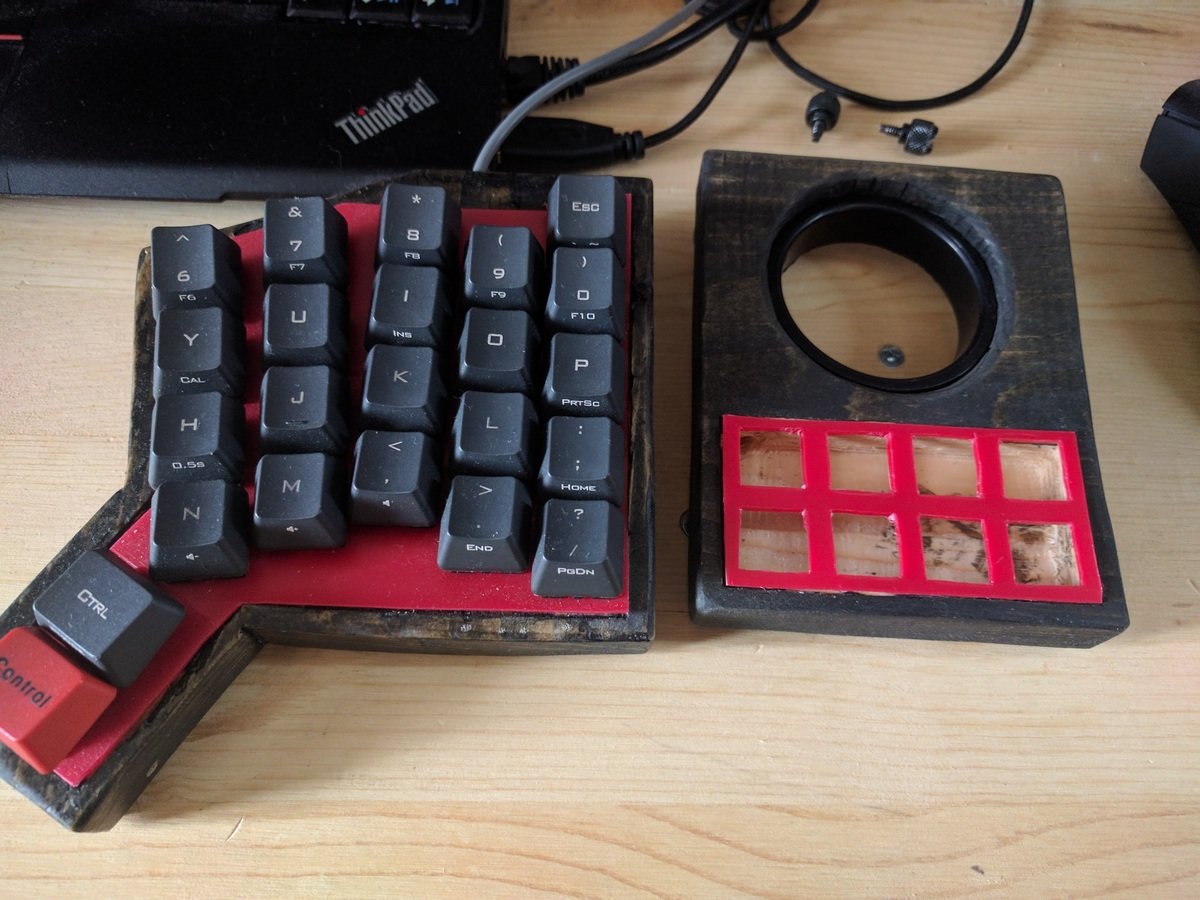
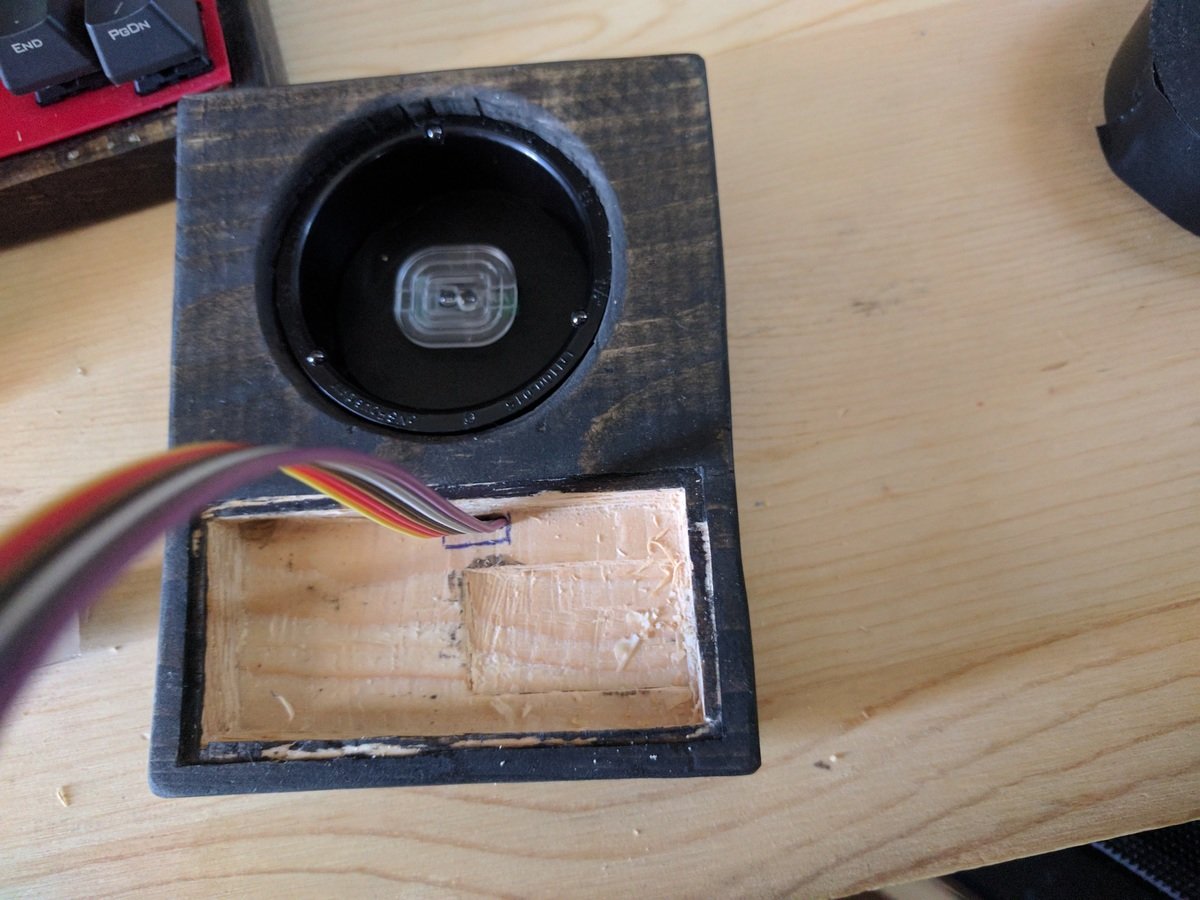
I Dream Of Eight-balls
Having seen the three pieces, I was reaffirmed in my long-standing want for a trackball. It seems like it’ll fit so well among the others - so I started planning one out.

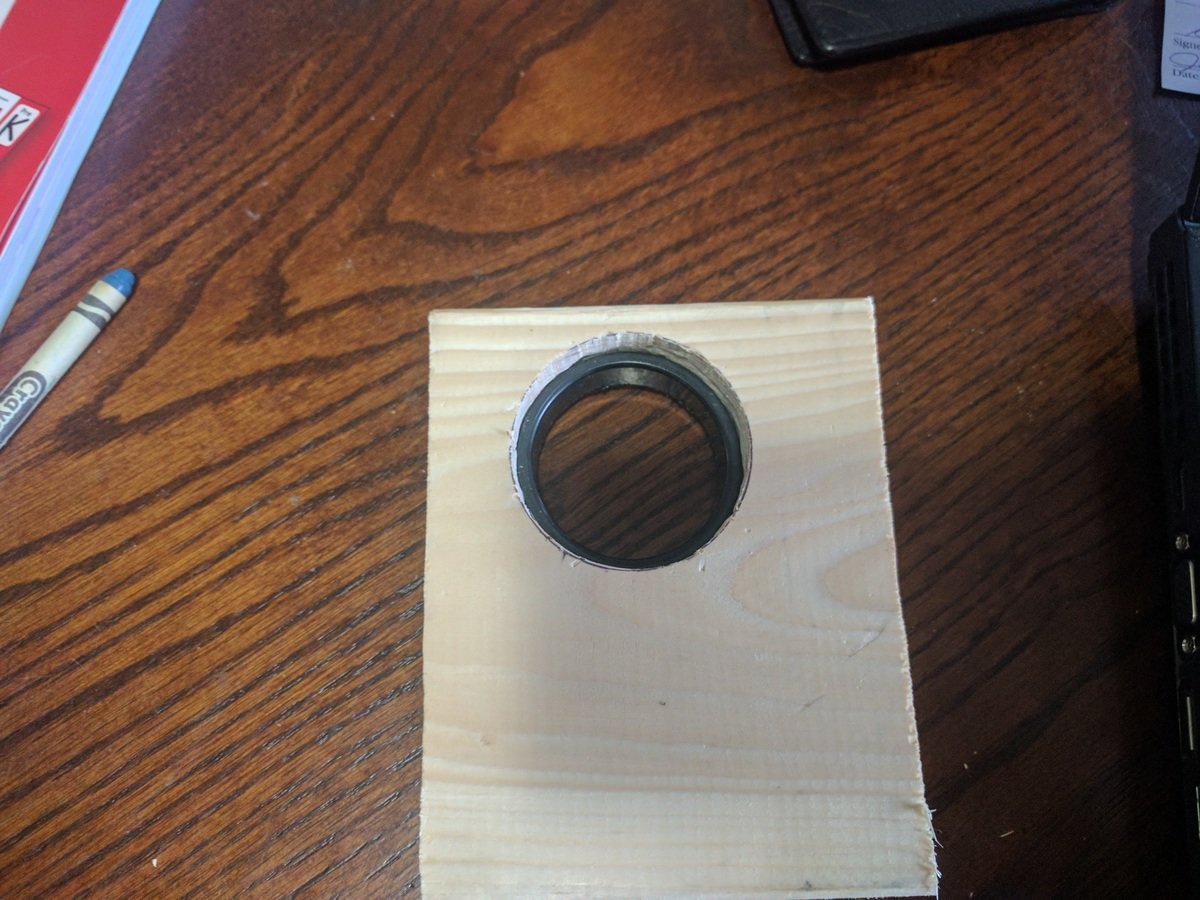
The Parts Are Trickling In!
The ball bearings arrived, and are now installed:
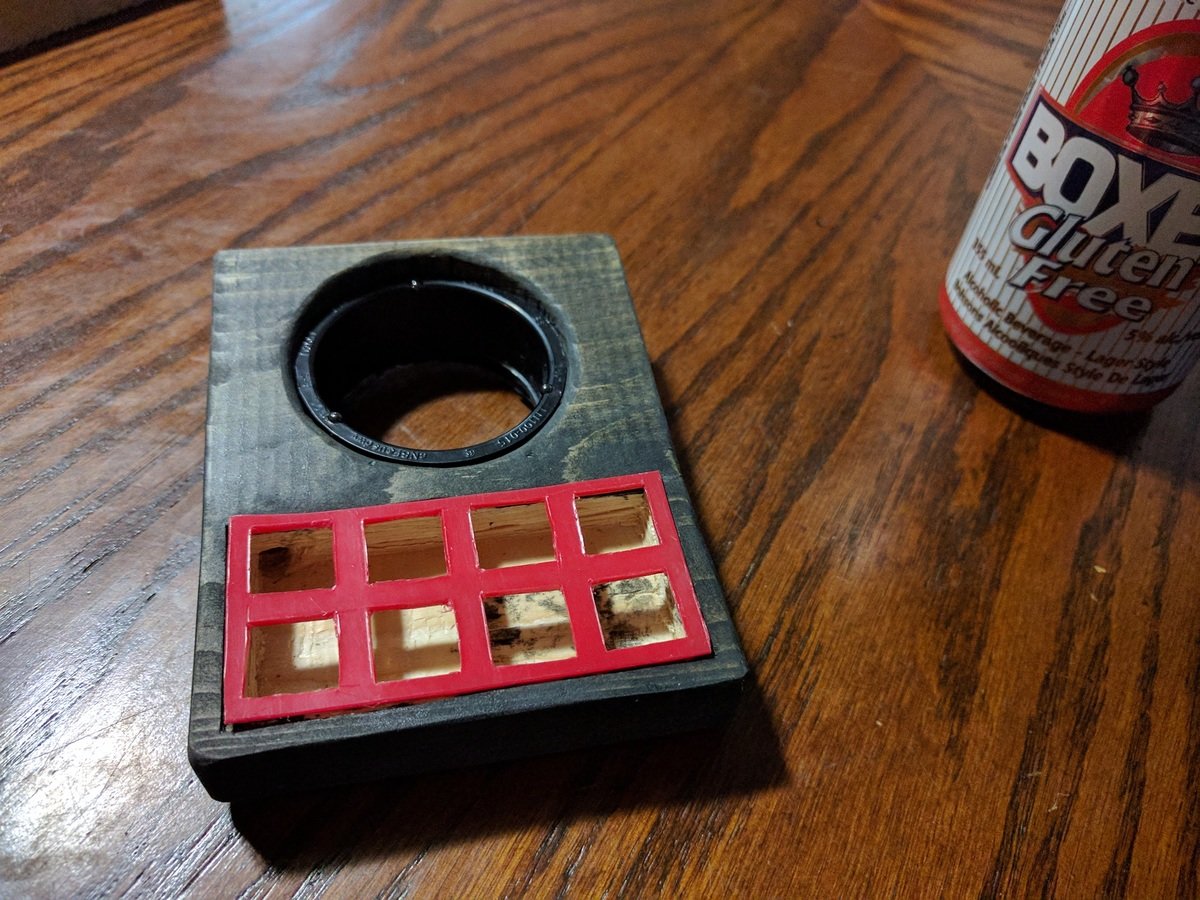
…And only the ball bearings. So… then I got bored.
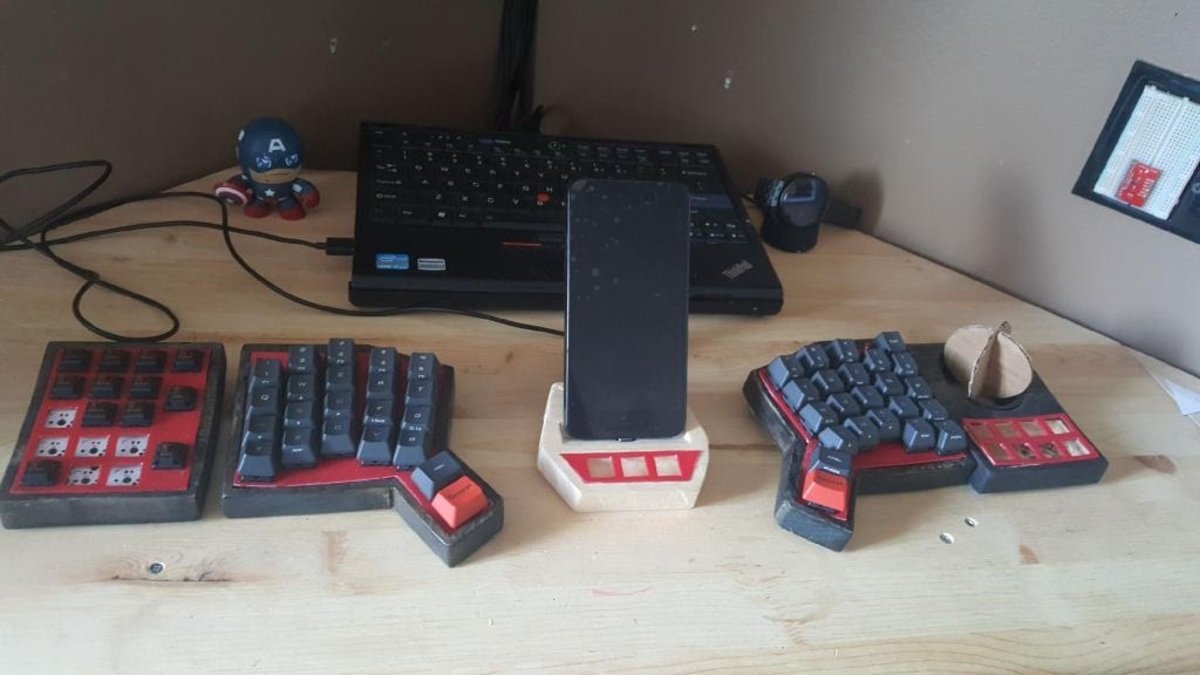
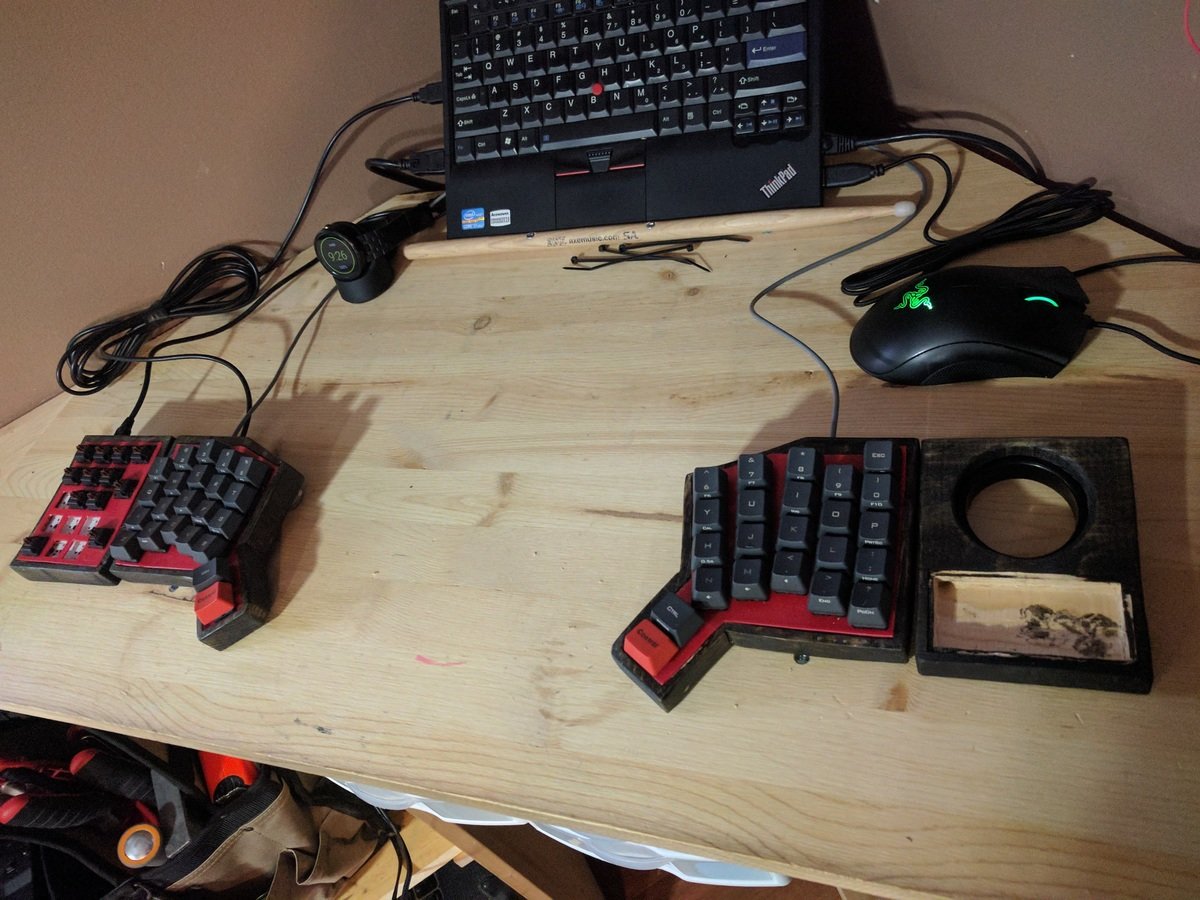
Keycaps Arrived
And switches, and the I/O expander. My first Teensy came DOA, so I have to now wait for the next one to come in to finish wiring. Also waiting to buy some stain to finish the phone dock, but it still looks pretty good!
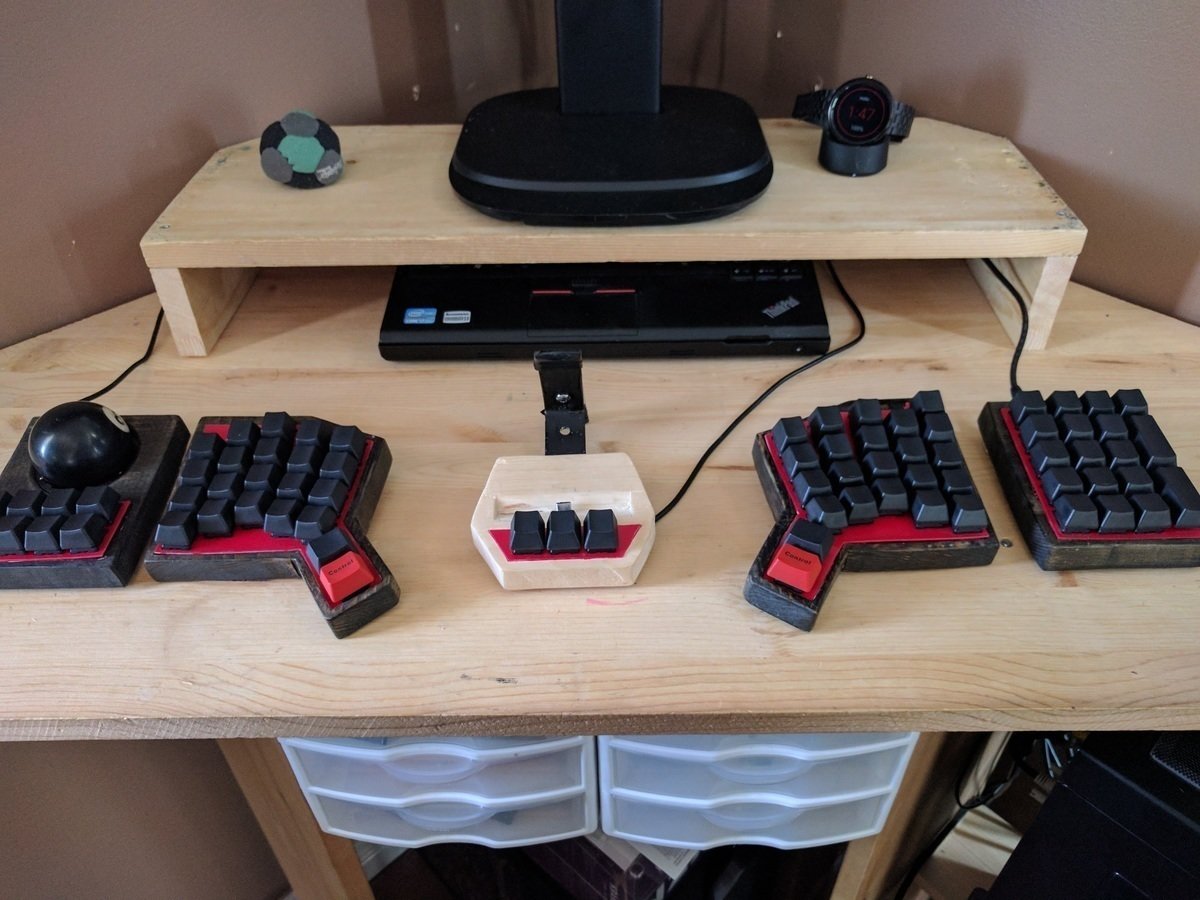
This Has Been A Painful Wait
I still haven’t received a working Teensy, so my keyboard is still in stasis. Painful, painful stasis. Though I did stain up everything, and it’s all but done besides the electronics!
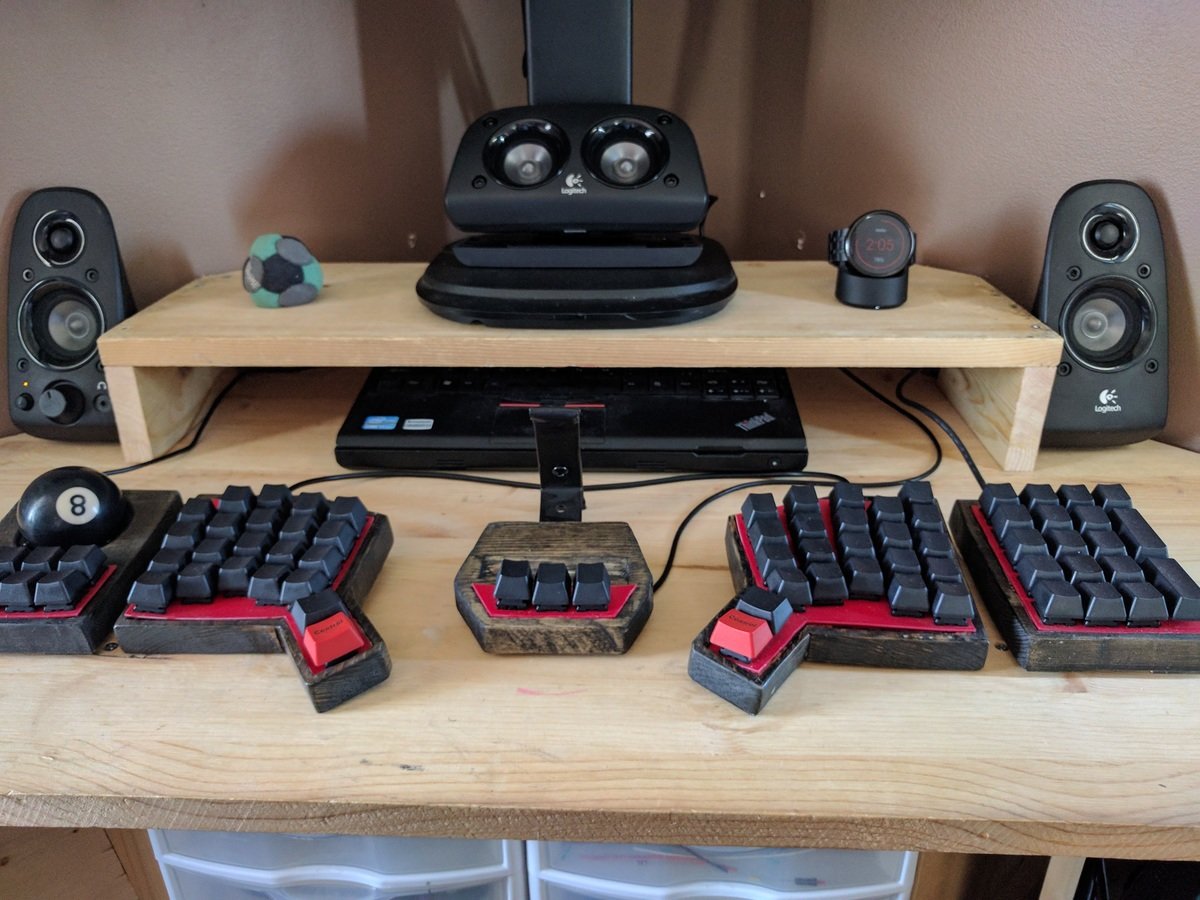
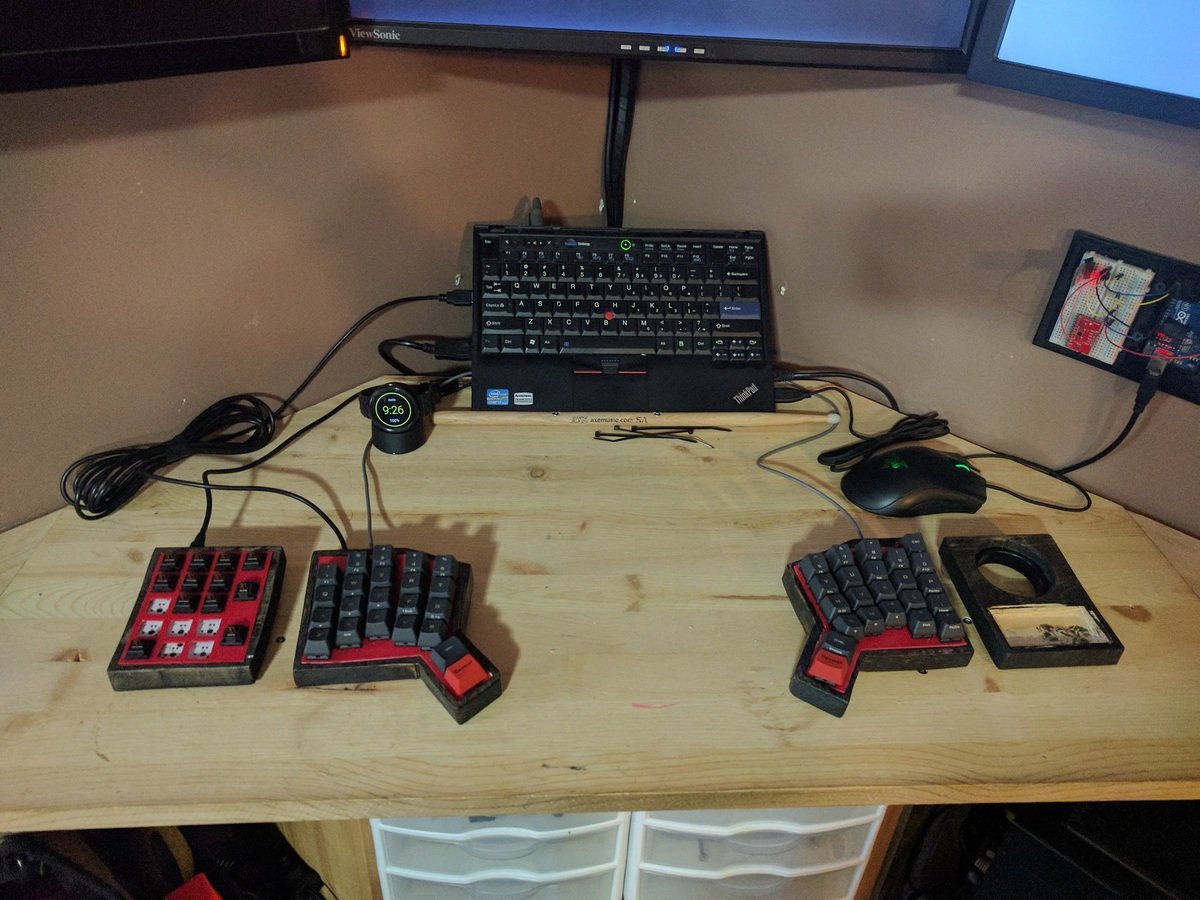
I Forgot To Mention…
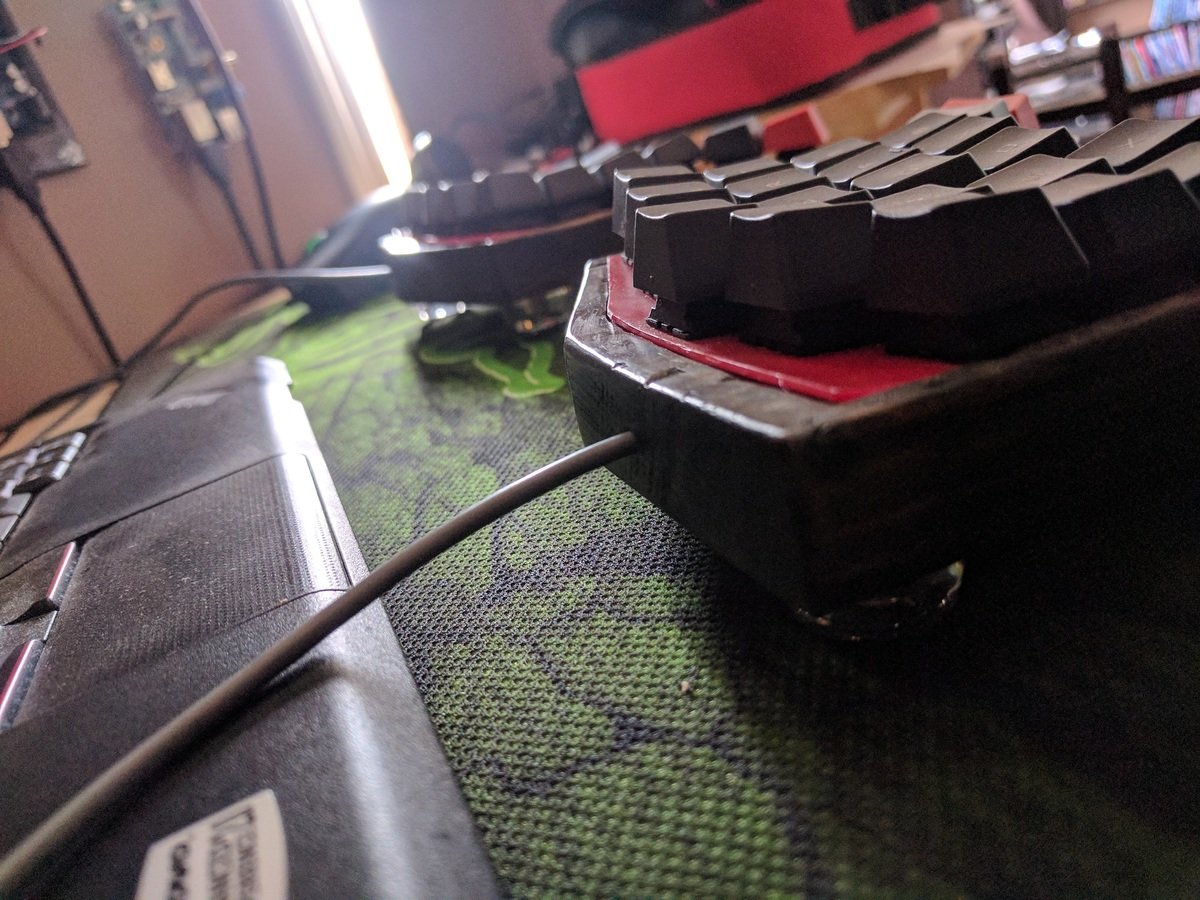
It works fine. I’ve been typing on it for over a year now, and it’s just wonderful! I have some pictures of the wiring, and some schematics that I plan to write up about when I have more time (and money) to replace a dead optical sensor for the trackball - so there will be a follow up blog posting to look forward to specifically about the trackball, and a final posting about the wiring and programming involved to make this happen. Until then, thanks!